Indice
SETTING A PROXY in commonly used WEB BROWSERS
Windows
Internet Explorer
- Click on “Tools” in the menu bar.
- Click on “Internet Options” in the drop-down menu.
- Click on “Connections” tab inside the “Internet Options” window.
- Then click on “LAN settings”.
- Select ONLY “Use automatic configuration script” filling the textbox underneath whith the following address: http://pac.units.it/proxy.pac
- Click on “OK”.
- Click on “Apply” or “OK”.
- Restart Internet Explorer

Mozilla Firefox on Windows
- Click on“Tools” in the menu bar.
- Click on “Options” in the drop-down menu.
- Click on “Advanced”.
- Click on “Settings” in the “Network” tab, under the “Connections” area.
- Check “Automatic Proxy Configuration (URL)“ in the “Connection settings” window and fill the text-box underneath with: http://pac.units.it/proxy.pac
- Click on “Reload”.
- Click on “OK” on all previously opened windows.
Mac OS
Mac OS X
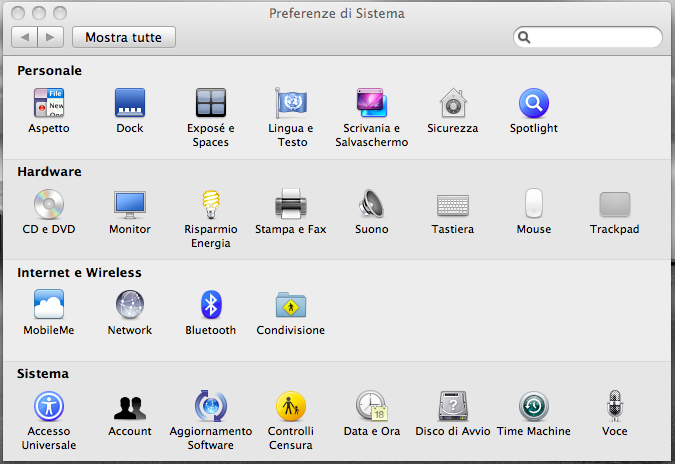
- Open “Preferenze di Sistema” (System Preferences).
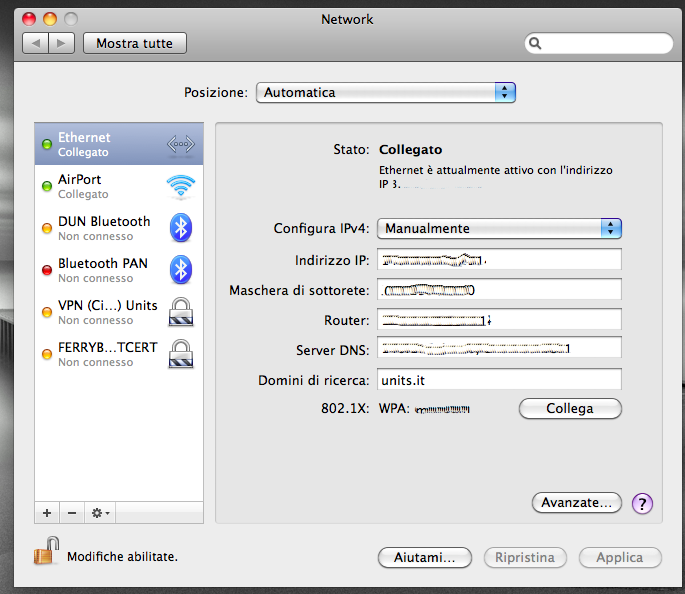
- Click on “Network”.
- Select your active connection and click on “Avanzate” (Advanced).
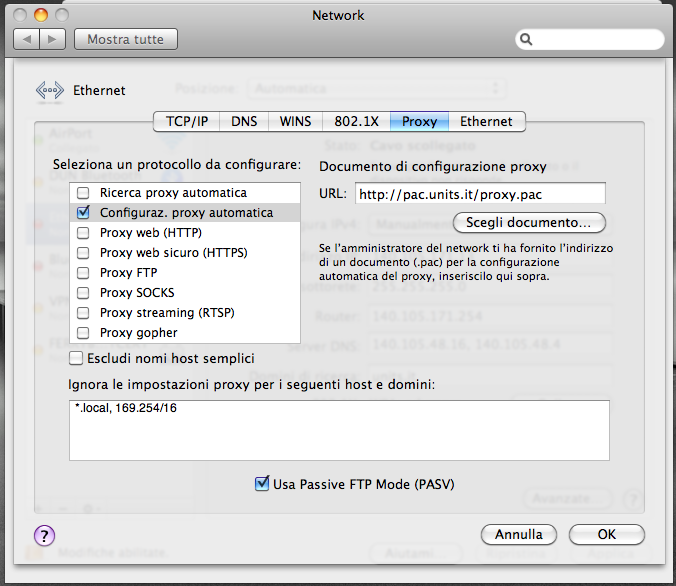
- Check ONLY “Automatic proxy configuration” as in the picture and fill the URL text-box with “http://pac.units.it/proxy.pac”.
- Click on “OK”.
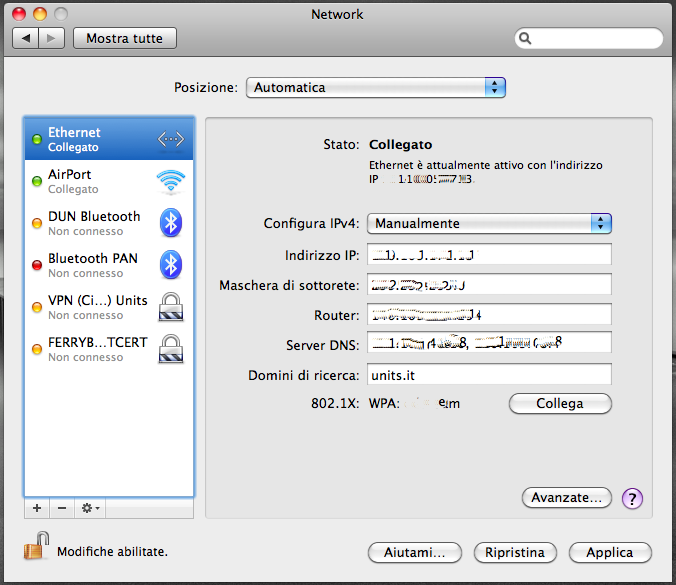
- Click on “Apply”.
- Depending on which network you are using, un-plug and re-plug the network socket, disable and re-enable the current wired network connection or disable and re-enable Airport.
Linux
Mozilla Firefox on Linux

- Aperto Mozilla Firefox andare sul menù “Modifica” in alto a sinistra.
- Nel menù a tendina scegliere la voce “Preferenze”.
- Nella finestra “Preferenze di Firefox” fare clic su “Impostazioni connessione”.
- Nella finestra “Impostazioni di connessione” selezionare “Configurazione automatica dei proxy (URL)”, nella casella di testo sottostante inserire il seguente indirizzo: http://pac.units.it/proxy.pac
- Fare clic su “Ok”
- Fare clic su “Chiudi”
Konqueror su Linux (KDE)

- Aprire il web browser Konqueror.
- Fare clic sul menù “Impostazioni” e scegliere “Configura Konqueror”.
- Nella finestra “Configura Konqueror” cercare la voce “Proxy” nell'elenco messo a sinistra della finestra, una volta trovata fare clic una volta sola su di essa.
- Selezionare “Usa la seguente URL di configurazione del proxy”.
- Nella casella sottostante inserire il seguente indirizzo: http://pac.units.it/proxy.pac
APT Linux
- Edit the apt.conf file and add the next line:
Acquire::http::Proxy "http://proxy.units.it:8080/";
If your distribution uses the apt.conf.d directory-based configuration, create a new file named something like proxy.conf including the above line instead of modifying the apt.conf file.
Other Linux applications
- Commands for the current shell
export http_proxy=http://proxy.units.it:8080
export ftp_proxy=http://proxy.units.it:8080
In order to keep settings across reboots, insert the above lines in /etc/profile file.


